
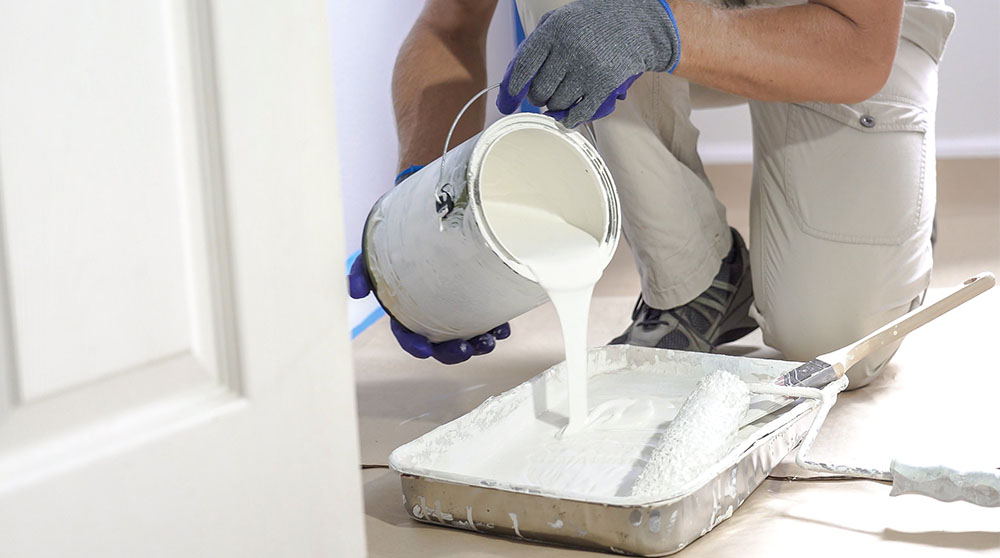
Painting is one of the most affordable ways to transform the look of your home, and it’s also one of the most accessible DIY projects. However, as with any DIY project, painting your home’s interior requires safety precautions, careful planning, and patience. Follow our tips for a professional-looking paint job you can be proud of.
Keep safety in mind.
Safety is paramount. Paint products contain chemicals that can give off harmful fumes; they can also pose a fire hazard. To protect yourself and your family, follow these safety tips:
- Keep windows open for ventilation, if possible. Window-mounted box fans can also help exhaust harmful vapors from your work area.
- Take frequent breaks. Get out of the painting area and get some fresh air once per hour.
- Wear a mask. For extra protection, wear a standard N95 mask, especially if using oil-based paints or varnish.
- Wait before using your finished room. If possible, wait two to three days after painting before using the room to allow the fumes to dissipate completely.
- Properly dispose of rags used for varnish. Left sitting in buckets, these can spontaneously combust. Dispose of them as soon as possible after use.
- Tape off HVAC vents. You don’t want paint, sawdust, or other project debris in your HVAC system.
- Store paint safely. Whether just finishing for the day or completing your project, store paint tightly sealed in a safe location with a consistent temperature between 50 and 80 degrees.
- Know when to call for help. If you have very high ceilings (such as in a two-story entry) or you find another issue beyond your DIY skills, call in a professional.
Knowing when to call a pro is important for any DIY project. Anytime you’re dealing with these types of tasks, hiring a pro is the way to go:
- Electrical work
- HVAC installations
- Large plumbing jobs
- Roofing repairs
Remember: It’s good to save money, but not at the risk of your safety.
Paint smart: Tips for picture-perfect walls
Ready to get started? Here’s how to get professional-looking results with your painting projects.
- Wait for the right weather. Painting on a humid day can lead to drips and increased drying time, and painting in frigid temperatures may make it uncomfortable to open windows for adequate ventilation.
- Clean your walls before you add new color. Dust and dirt on your walls can prevent paint from adhering properly. Begin by dusting the walls with a dry cloth or duster. Then wash them with mild soap and water and rinse. If you are painting an area that may be greasy (like your kitchen), use trisodium phosphate (TSP) cleaner, which is available at most hardware stores. Let the walls dry overnight before painting.
- Purchase the right amount of paint. Experts recommend one gallon of paint for every 400 square feet; however, this is based on one coat, and some paint jobs require more:
-
- If the walls are unprimed, you’ll need to add a coat of primer or use an extra coat of your desired color.
- If you are painting on a rough or textured surface, you’ll need more paint than for smoother walls.
- If you are painting a light color over a dark color (or vice versa), it will take at least two coats to fully cover it.
To determine how much square footage you have to cover, multiply each wall’s height and width to get the square footage (e.g., a wall eight feet high and 10 feet wide is 80 square feet) and then add them up.
- Take your time with prep work. Protecting the floor with drop cloths, covering doorknobs, taping off baseboards, windows, and ceiling edges — these tasks can be tedious, but they’ll help make your finished room look professionally painted. The rule: If you don’t want paint on it, tape it or cover it.
- Mix your paint. Individual cans of paint can have slight variations in color. To keep your color consistent from start to finish, combine cans of paint into one large container and mix thoroughly. You can find large plastic paint buckets with tight-fitting lids at your hardware store.
- Paint from top to bottom. Working your way down from ceiling to floor makes it easier to fix drips and splatters as you go.
- Allow plenty of dry time. Give each coat at least 24 hours to dry before adding another, and let the last coat dry for at least 24 hours before moving furniture and other items back into the room.
For success with painting or any other DIY project: Take your time, use quality materials, and take safety precautions.
And because your efforts are worth protecting, make sure you have plenty of homeowners insurance. A local, independent agent can help advise you on how much you need.
This content was developed for general informational purposes only. While we strive to keep the information relevant and up to date, we make no guarantees or warranties regarding the completeness, accuracy, or reliability of the information, products, services, or graphics contained within the blog. The blog content is not intended to serve as professional or expert advice for your insurance needs. Contact your local, independent insurance agent for coverage advice and policy services.